开发环境
QOTOM Q350P 工控电脑
系统版本:Ubuntu18.04 LTS
下载linuxdeployqt
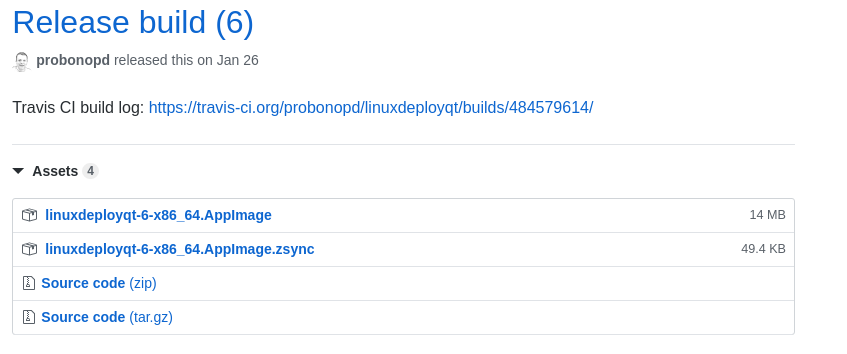
传送门: https://github.com/probonopd/linuxdeployqt/releases
打包前先用QT编译出releases程序,比如我的目录:
/zdisk/qt-project/build-GPIO-TEST-Desktop_Qt_5_7_0_GCC_64bit-Release创建一个文件夹,将编译出的二进制程序文件放进来,然后开始进行下面的打包操作
第一种方法
下载linuxdeployqt-6-x86_64.AppImage 放到/usr/local/bin,并赋予777权限 chmod 777 linuxdeployqt-6-x86_64.AppImage
把qmake的路径添加到环境变量中
sudo vim /etc/profile
末尾添加:export PATH=/opt/Qt5.7.0/5.7/gcc_64/bin:$PATH
如果appname是你的程序,执行下面的代码:
linuxdeployqt-continuous-x86_64.AppImage appname -appimage结果我的ubuntu版本太高,编译失败了,应该是为了兼容性故意设计的 ,这个方法建议低版本的使用,失败日志如下:
ERROR: The host system is too new.
Please run on a system with a glibc version no newer than what comes with the oldest.
still-supported mainstream distribution, which currently is glibc 2.20.
This is so that the resulting bundle will work on most still-supported Linux distributions.
For more information, please see
https://github.com/probonopd/linuxdeployqt/issues/340
第二种方法
修改 linuxdeployqt 源代码后打包
1. 下载源码Source code.tar.gz
/home/laohu/downloads/linuxdeployqt-62. 配置QT环境,在~/.bashrc中加入,注意修改为自己的路径:
export PATH=/opt/Qt5.7.0/5.7/gcc_64/bin:$PATH
export LD_LIBRARY_PATH=/opt/Qt5.7.0/5.7/gcc_64/lib:$LD_LIBRARY_PATH
export QT_PLUGIN_PATH=/opt/Qt5.7.0/5.7/gcc_64/plugins:$QT_PLUGIN_PATH
export QML2_IMPORT_PATH=/opt/Qt5.7.0/5.7/gcc_64/qml:$QML2_IMPORT_PATH
3. 修改linuxdeployqt源代码
为了避免编译好的包运行时检测到我们的系统版本过高,不继续执行的问题,我们编译前,将tools/linuxdeployqt/main.cpp中的下述代码注释掉:
// openSUSE Leap 15.0 uses glibc 2.26 and is used on OBS
        /*if (strverscmp (glcv, "2.27") >= 0) {
            qInfo() << "ERROR: The host system is too new.";
            qInfo() << "Please run on a system with a glibc version no newer than what comes with the oldest";
            qInfo() << "still-supported mainstream distribution, which currently is glibc 2.20.";
            qInfo() << "This is so that the resulting bundle will work on most still-supported Linux distributions.";
            qInfo() << "For more information, please see";
            qInfo() << "https://github.com/probonopd/linuxdeployqt/issues/340";
            return 1;
        }*/
4. 编译linuxdeployqt源代码
root@ubuntu:~/downloads/linuxdeployqt-6# ls
BUILDING.md     LICENSE.GPLv3         linuxdeployqt.pro  sync.profile
CMakeLists.txt  LICENSE.LGPLv3        README.md          tests
Dockerfile      linuxdeployqt.AppDir  src                tools
root@ubuntu:~/downloads/linuxdeployqt-6# qmake
Info: creating stash file /home/laohu/downloads/linuxdeployqt-6/.qmake.stash
Info: creating cache file /home/laohu/downloads/linuxdeployqt-6/.qmake.cache
root@ubuntu:~/downloads/linuxdeployqt-6# make
... 编译出来的源程序会放在./bin目录下,然后将生成的程序放到/usr/local/bin/目录下(为了方便)
5. 用linuxdeployqt打包QT应用
linuxdeployqt appname打包中的错误解决
1. 缺少patchelf
ERROR: Could not start patchelf.
ERROR: Make sure it is installed on your $PATH.
ERROR: Error reading rpath with patchelf "libQt5Widgets.so" : ""
这个错误只要安装pathchelf工具就可解决:
sudo apt install patchelf2. 缺少libjasper.so库文件
安装libjasper1
sudo add-apt-repository "deb http://security.ubuntu.com/ubuntu xenial-security main"
sudo apt update
sudo apt install libjasper1 libjasper-dev
3. qmake指向的路径错误
ERROR: "/usr/bin/qmake -query" exited with 1 : "qmake: could not exec '/usr/lib/x86_64-linux-gnu/qt4/bin/qmake': No such file or directory\n"
ERROR: Qt path could not be determined from qmake on the $PATH
ERROR: Make sure you have the correct Qt on your $PATH
ERROR: You can check this with qmake -v

vim /usr/lib/x86_64-linux-gnu/qt-default/qtchooser/default.conf
将第一句修改为 /opt/Qt5.7.0/5.7/gcc_64/bin
4. linuxdeployqt打包,比如我的程序叫GPIO-TEST
root@ubuntu:/zdisk/gpio_test# linuxdeployqt GPIO-TEST
会生成下列文件
root@ubuntu:/zdisk/gpio_test# ls
AppRun  GPIO-TEST  lib  plugins  qt.conf  translations
将文件夹打包到其他电脑,执行./AppRun 和 ./GPIO-TEST都可以执行了